
How to Create an Expense Approval App
August 6, 2026PUBLISHED INAi Development
 ali
ali 2026-08-06 17:03:00
 0
0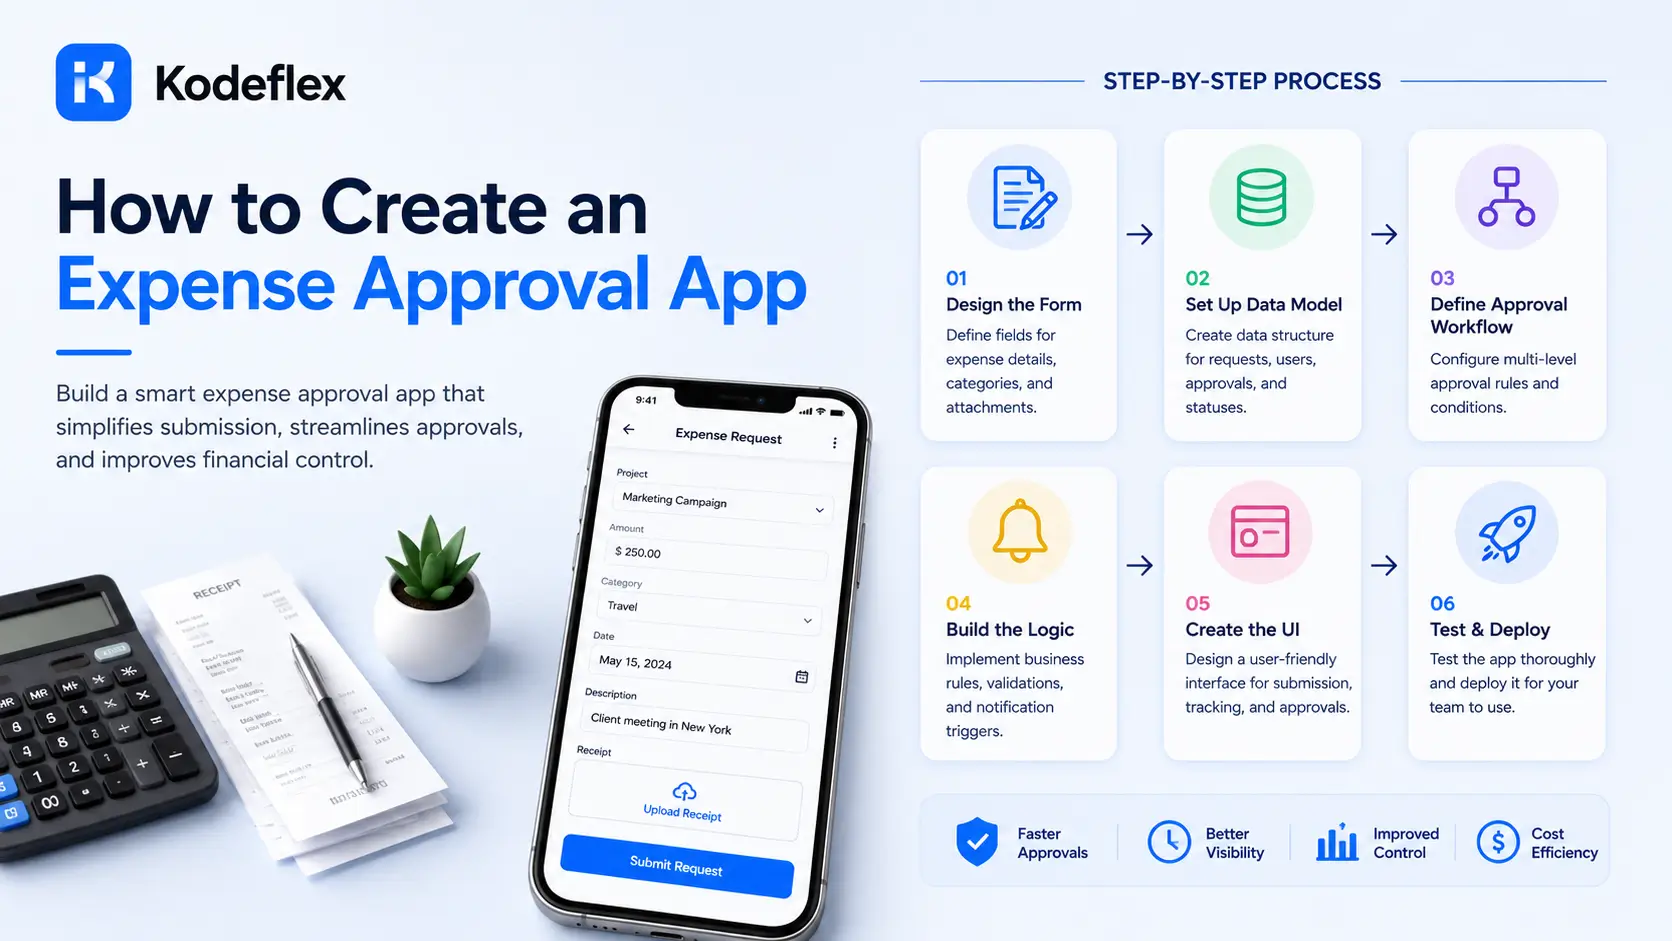
Expense approvals are one of those processes almost every company runs on email threads and spreadsheets far longer than they should. Someone submits a receipt, forwards it to a manager, the manager forwards it to finance, and somewhere in that chain things get lost or forgotten. An expense approval app fixes the structure without requiring a full finance software rollout.
Here's how to build one, including the parts people usually get wrong the first time.
What an Expense Approval App Actually Needs
At minimum, it needs a submission form (amount, category, receipt upload, description), an approval step tied to who the approver is, a status view, and some kind of threshold logic, since most companies want different approval paths depending on the amount. A $40 lunch receipt and a $4,000 client dinner shouldn't go through the same review process, and building that distinction in from the start saves a lot of manual triage later.
Step 1: Map Out Your Approval Thresholds
Before building anything, write down the actual rules your finance team already uses, even if they're informal. A common pattern looks like: under $100 auto-approved or approved by direct manager, $100 to $1,000 requires manager approval, above $1,000 requires manager plus finance sign-off. If your company doesn't have explicit rules yet, this is a good moment to define them, since the app will enforce whatever logic you build in.
Step 2: Generate the App From a Description
KodeFlex, something like "an expense approval app where employees submit receipts, amounts under $100 are auto-approved, amounts over $100 need manager approval, and amounts over $1,000 also need finance approval." The platform generates a working draft: the submission form, the routing logic, and a status dashboard, built on top of its workflow engine rather than a static form template.
Step 3: Adjust the Routing and Fields Visually
Review what the AI generated and adjust anything that doesn't match your actual process. Add a category dropdown (travel, meals, software, office supplies) if your finance team tracks spend by type. Add a required receipt upload field if you want to enforce documentation above a certain amount. Change who gets notified at each threshold. All of this happens on the visual canvas, without touching code.
Step 4: Test With Realistic Amounts at Each Threshold
Submit a few test expenses that cross each threshold you defined, one under $100, one between $100 and $1,000, one above $1,000, and confirm the routing actually follows the rules you set. This step catches the most common mistake in approval workflows: a threshold boundary that routes incorrectly because of an off-by-one error in how the rule was written.
Step 5: Publish and Keep an Audit Trail
instance management to keep a staging copy around if you expect to adjust thresholds as spending policy changes.
Where a Custom App Fits vs Dedicated Expense Software
A self-built expense approval app works well for straightforward reimbursement workflows with a handful of clear thresholds. It's a weaker fit if you need corporate card reconciliation, automatic mileage calculation, or deep accounting system integrations, that's where dedicated expense platforms like Expensify or Ramp still earn their cost. Know which one your company actually needs before building.
Frequently Asked Questions
Can the app handle different approval paths based on amount?
Yes, that's the core use of threshold-based routing, different dollar amounts can trigger different approval chains automatically.
Can employees upload receipt photos directly?
Yes, file upload fields are a standard part of the submission form and can be set as required above a certain amount.
Does this integrate with accounting software?
That depends on your specific setup. For deep accounting integrations, evaluate whether a dedicated expense platform better fits your needs alongside a custom-built approval flow.
How long does it take to set this up?
Most teams have a working draft in the same session, often within an hour once approval thresholds are clearly defined.
Can approval rules be changed later if company policy changes?
Yes, since the workflow is fully editable rather than a fixed template, thresholds and routing can be updated any time without rebuilding the app.
Want help mapping your actual approval thresholds into a working app?
Request a demo and walk through it with the team.
Related Blogs
How to Build a Helpdesk App Without Code